Whimbrel
|
Some details about Whimbrel and the modifications that I have made
Whimbrel is a John Welsford Navigator which I built in 2009. The Navigator is one of John's most popular designs. She is a very fine boat, very seaworthy, very strong, and she has taken me to some amazing places.
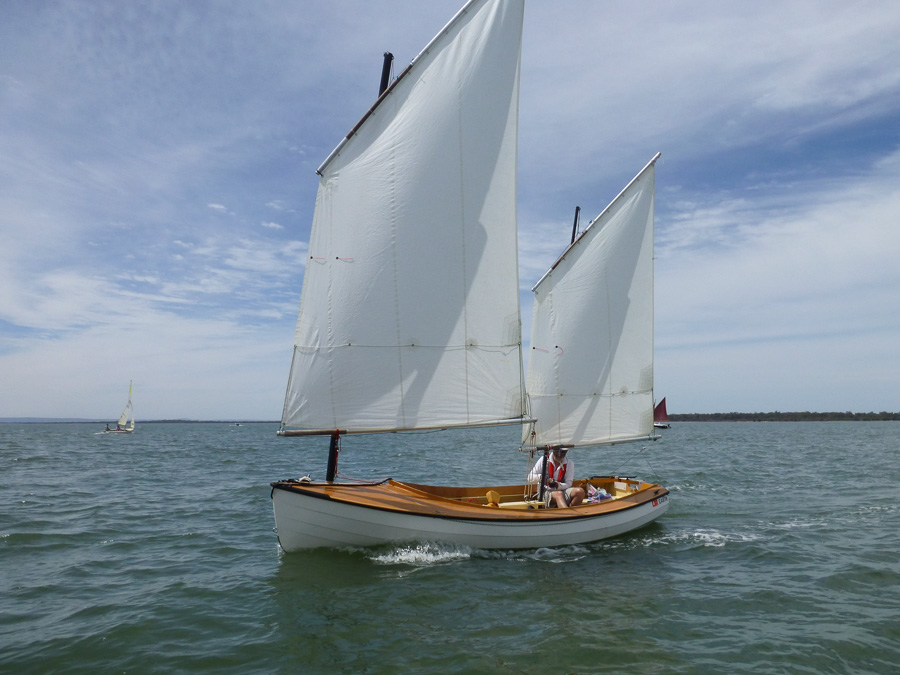
The main thing you will notice about Whimbrel is her cat ketch balanced lug rig. I started building her not knowing quite what rig I would put on her. The Navigator, as designed, has a yawl rig. This rig has many fine qualities but what I wanted was something that would be quick to rig and unrig. While I naturally had dreams of doing extended cruises with the boat I realized that realistically 99% of my sailing would be day sailing. I wanted to spend 10 minutes rigging/unrigging, not half an hour. My storage space was also limited and the extra length of a bowsprit was an issue for me.
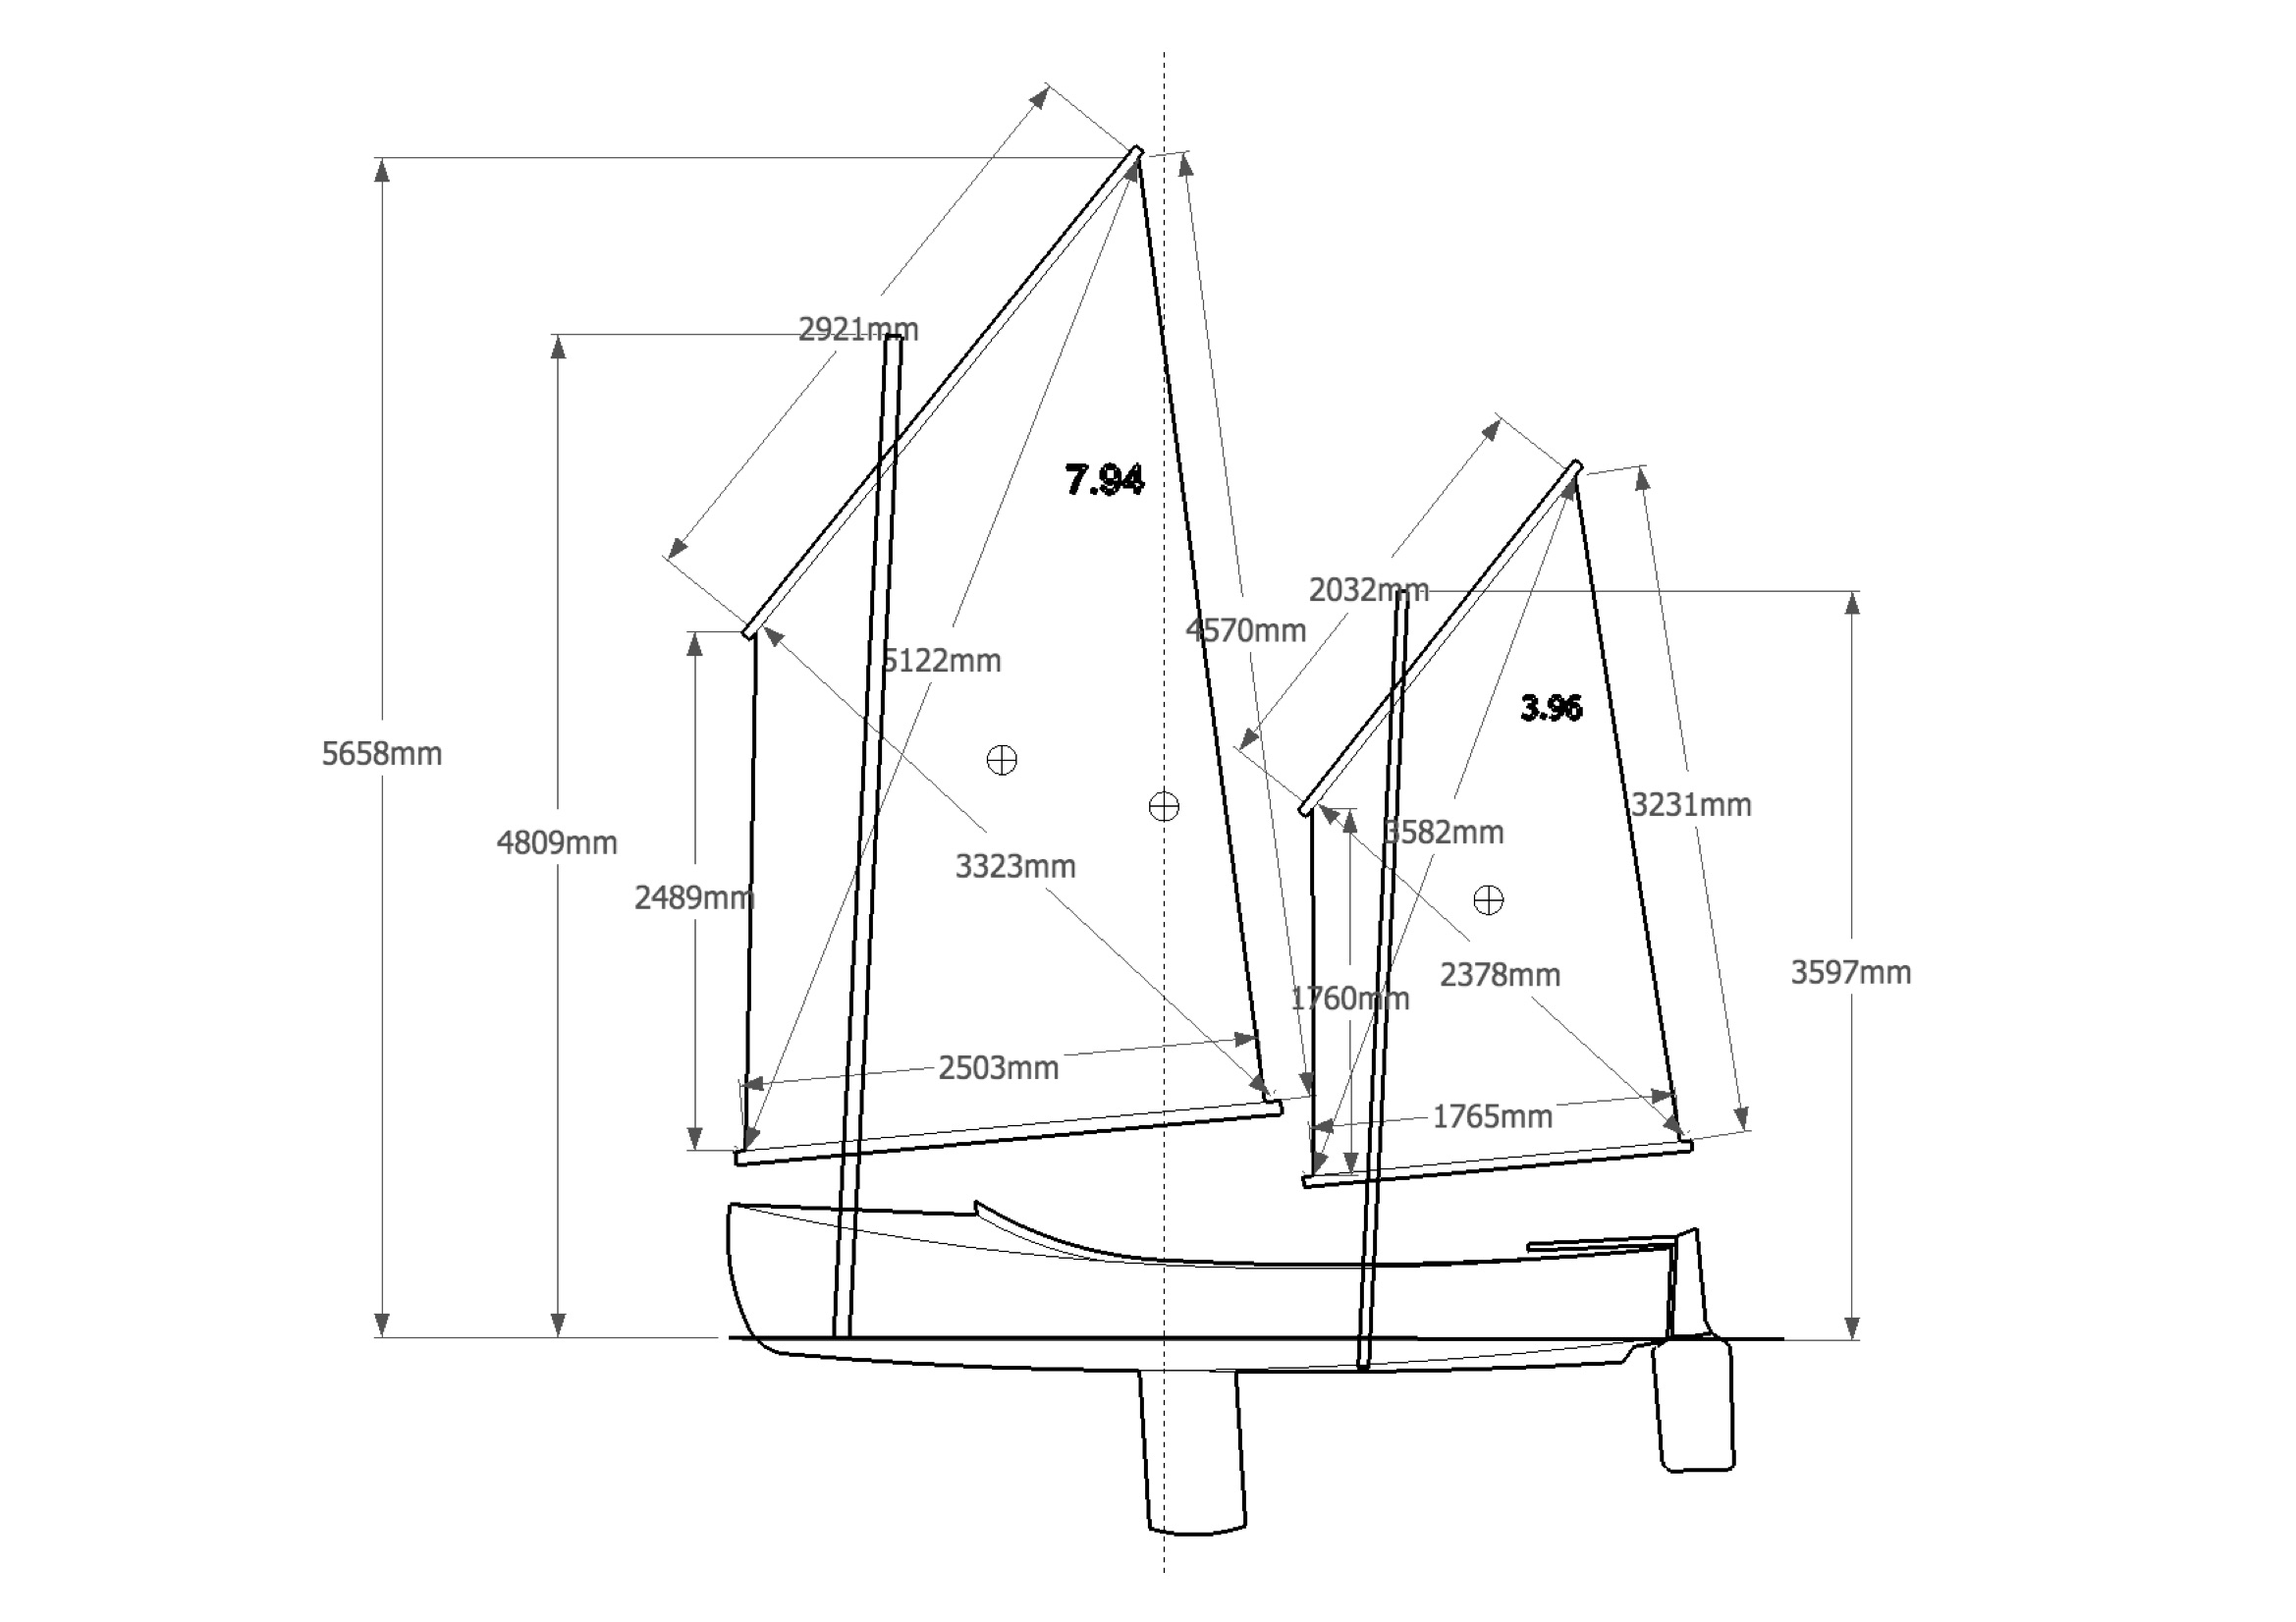
Inspired by John Welsford's Rogue design my initial thoughts were for a single balanced lug sail but when I drew up a sailplan I realized that a 12m2 single sail is quite large and the centre of effort ends up being rather high, as high as the racing rig for the Navigator, so that was not ideal. (I now appreciate how good the yawl rig is for packing in a lot of sail area with a low centre of effort.) The other rig I had in the back of my mind was the cat ketch as used by Graham Byrnes' Core Sound 17. The Core Sound also has a 3rd mast position in the middle to allow just one sail to be set in stronger breezes. I attempted to come up with a cat ketch sailplan for the Navigator, with the front mast tube just behind bulkhead B1, and the rear mast just behind the centrecase. However, the centre of effort came out well aft of the design position, even reducing the size of the mizzen quite fiercely could not correct this. Then I spotted Ross Lillistone's Periwinkle design. Ross also uses a cat ketch rig, but with balanced lug sails. I was very taken with this rig and when I drew it up a sail plan popped out almost effortlessly. A main of 8m2 and a mizzen of 4m2 gave me a nice low centre of effort that was almost exactly in the design position. Removing the mizzen and stepping the main mast in the standard mast position also gave me a centre of effort in the right location.
|
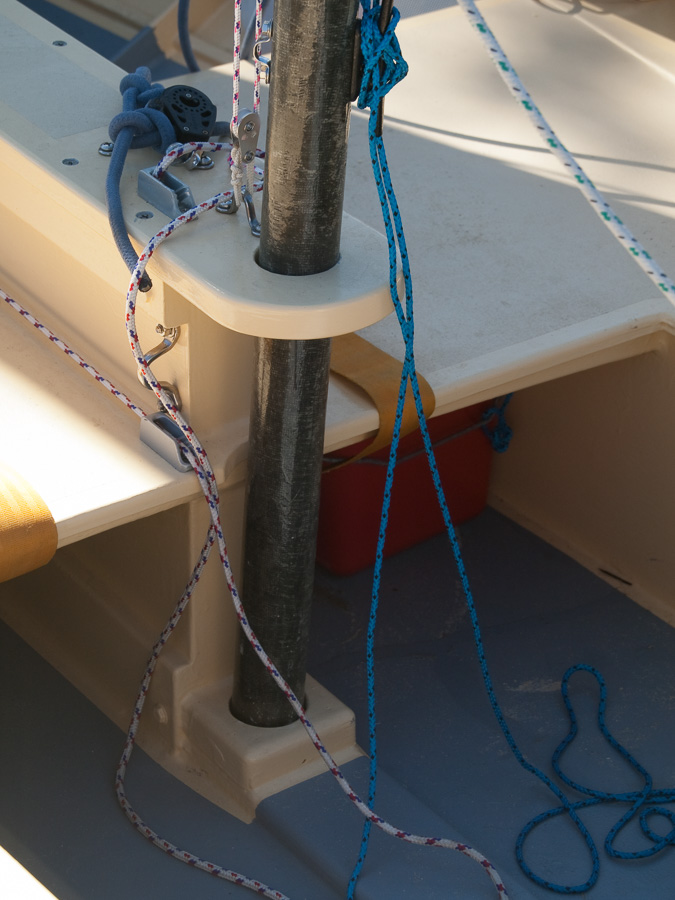
The main mast is stepped in a 80mm aluminium tube just behind bulkhead B1. I put in a supporting structure that roughly matched what the plans specify for the normal mast position. A doubler of 6mm ply was also added under the foredeck across from the mast tube to the gunwales. A plastic tube runs from the base of the mast tube through B2 and B3 to drain into the cockpit. The mizzen mast step is screwed and glued to the keel just behind the centrecase and I extended the centrecase cap aft to provide a partner for the mizzen. I put a bit of carbon fibre tape around the end of the centrecase cap to prevent it splitting from the mast load.
|
The main mast is a 75mm tube salvaged off on old 16' skiff mast, this is nice and light. I inserted some swimming pool 'noodles' inside to ensure it floats. The mizzen is a two-piece carbon windsurfer mast, the light weight is wonderful and being two-piece allows the mizzen to be stowed conveniently inside the cockpit if I am sailing under main alone with the mast in the centre position. Sailing the boat under main alone is a very comfortable option. On one occasion, due to extreme conditions, I have sailed with just the reefed mizzen set on the mast in the centre position. I was very glad I had that option available to me, it got me out of a difficult situation.
|
I decided to have a go at making my own sails. If I am prepared to build a boat why not also make the sails... I used SailCut to design the sails and develop the panel shapes. I hired an industrial sewing machine and a friendly local sailmaker sold me some cloth and gave me some useful advice. Well, the sails came out OK and the cost saving was considerable but a close inspection will reveal they were made by an amateur. A very interesting and educational exercise. It is hard work and is not to be taken lightly, but I guess anyone would say the same about the first boat they built.
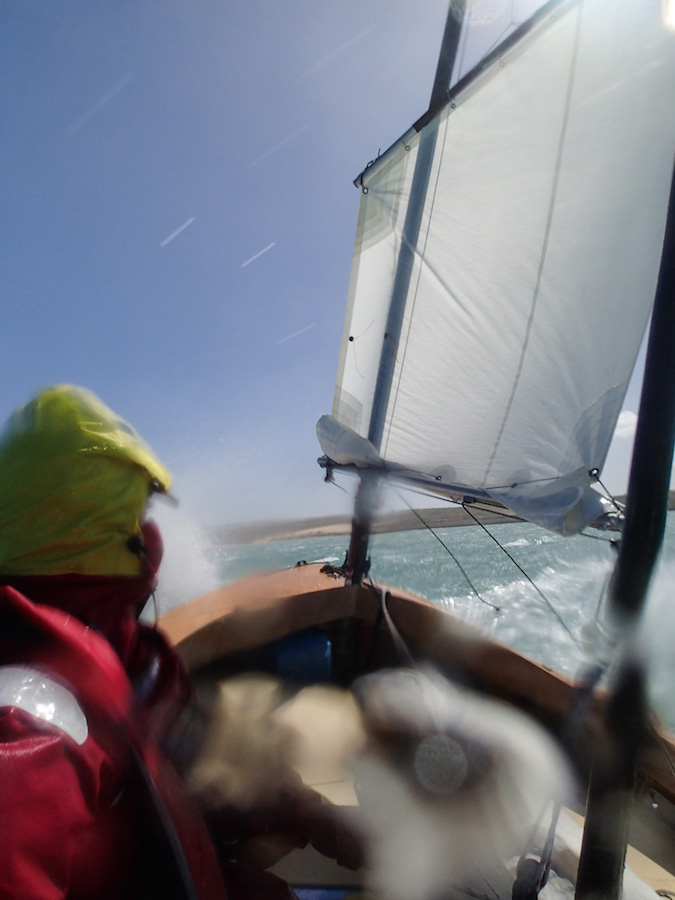
Overall I am very pleased with the rig. Having sailed racing dinghies all my life I was interested to see how a traditional rig would go. I followed Michael Storer's useful advice for setting up balanced lugs. Basically you have to vang down the boom downhaul harder than you think you need to, then pull it down a bit more! I have a 6 to 1 purchase on my main downhaul. I really appreciate the rigging speed. I gain an extra 15 to 20 minutes of sailing from getting into the water sooner, and I can stay out for another 15 to 20 minutes longer before I have to come in. I do notice a bit of helming difference between the 'right' and 'wrong' tacks upwind (a slightly more neutral helm on the 'wrong' tack, especially in light airs) and I would like to get her to be just a bit more close winded. However, reaching and running she is deceptively fast and I often find myself passing small keel boats up to 20' long much to their surprise. If I was to design the rig again I would not make the yards so long, perhaps make them the same length as the booms. This would reduce the sail twist and/or the downhaul tension required to get a good set.
Transom
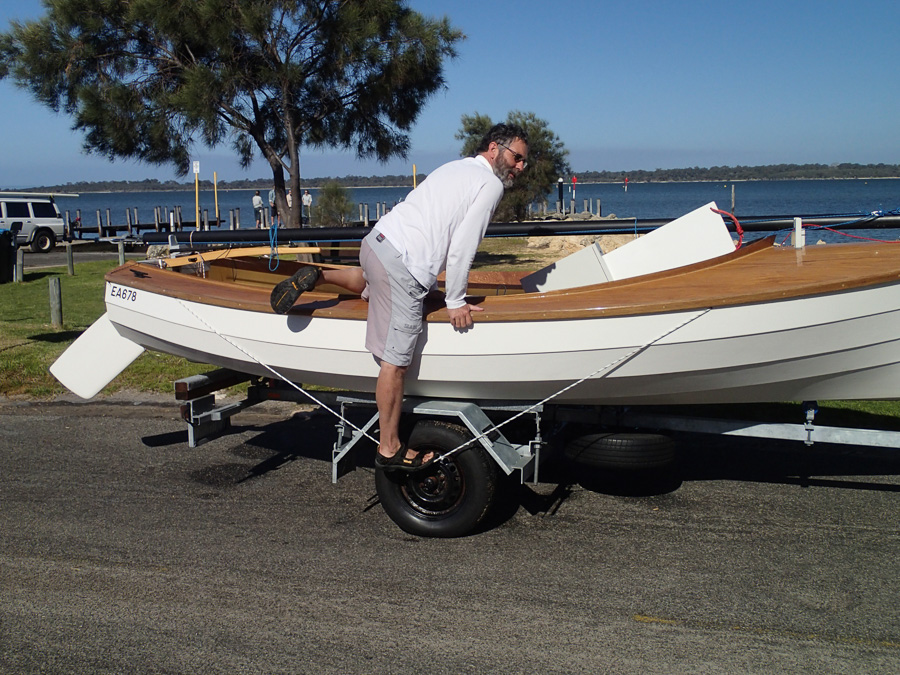
You will notice I took a bit of liberty with the transom. Please don't scream. I cut the top off straight. I wanted to be able to put a small outboard on. It did not make sense to me to have a beautiful transom and then bolt an ugly outboard mount onto it. To try to keep the lines harmonious I reduced the amount that the side decks cambered up at the stern so that the angle they made with the straight top of the transom was not too great. I leave it to you to judge.

|
Centreboard
The Navigator is a wonderful design but I suspect that many owners would wish the centrecase did not dominate the cockpit space as much as it does. Clearly John was mindful of this and kept the length of the centreboard to a minimum, while increasing the chord and thickness to compensate. Even so the centrecase is still large and I do feel that the short centreboard does compromise the upwind performance.
John's more recent boats such as his Walkabout or SCAMP designs have an off-centre board. This increases the usability the cockpit dramatically. With this in mind a few years ago I spent quite some time working out how I might modify my Navigator to have an off-centre board. I nearly went ahead but, in the end, I decided against cutting into my beloved Navigator, the amount of surgery required would have been considerable. I may still do this one day. If you imagine what a Navigator cockpit would be like with an off-centre board you quickly realize that the cockpit would be transformed!
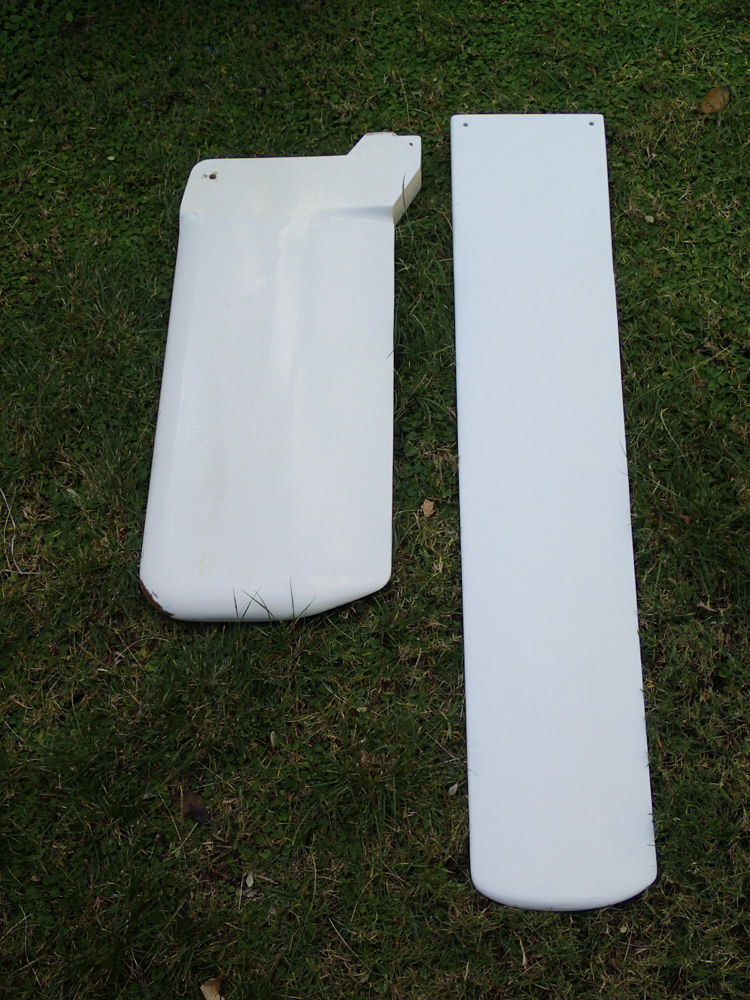
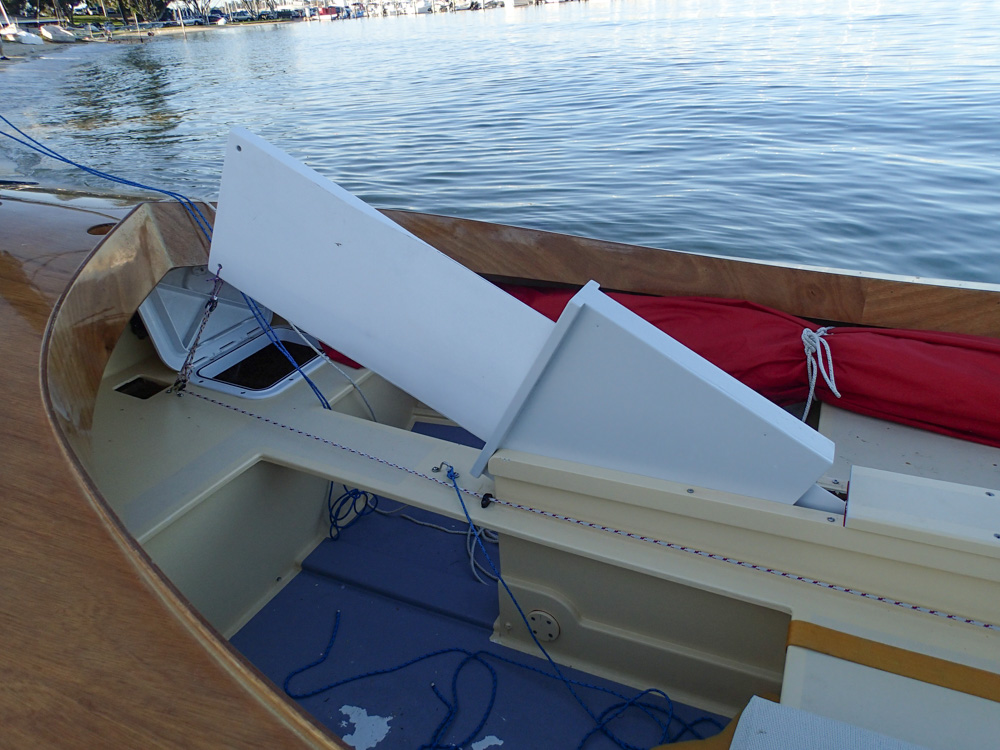
While I did not start cutting into my boat I did get as far as making a centreboard. The chord is dictated by the height of the side tanks but the beauty of an off-centre board is that its length is pretty well unrestricted. Modern development racing dinghy classes such as 18' skiffs and the I14 now have very long centreboards. So I decided to go all out and made a centreboard that was 1.5m long with a chord of 300mm and a thickness of 30mm. The Navigator case is 65mm wide to accommodate the thick centreboard. I made up a cassette to hold my 30mm thick centreboard within the 65mm case. When I did this I realized I could hinge it at the front to allow the centreboard to slide and pivot making the centreboard easier to raise, lower and store. All this was just intended to be a temporary trial but it proved to work so well that it has remained a fixture. While the new centreboard arrangement does take up extra space when raised the considerable enhancement to the upwind performance more than compensates for this. My sailing colleagues routinely 'complain' about the speed of my boat!
| 
|
Addendum May 2024: While my new centreboard is longer than the
designed one I thought it would interesting to compare the areas. I
was surprised!
As designed the area of the board below the hull =
0.790m x 0.400m = 0.316m^2. Given a sail area of about 12m^2 the
centreboard area is 2.6% of sail area.
My centreboard has an area below the hull = 0.980m x 0.300m = 0.294m^2
- a bit smaller than designed board! It would appear that the
improved performance is solely due it its extra depth and higher aspect ratio.
Safety
In addition to the usual flares and epirb etc. I have a couple of additional items that I consider important.
Venturi/Anderson bailer. I have a venturi fitted beside the rear of the centre case. When things are rough and you are getting spray over the deck a significant amount of water can accumulate in the bottom quite quickly. In these conditions the last thing you want to be doing is having your head down in the bilge bailing things out, or using one hand to operate a bilge pump. I simply push my venturi down and it happily sucks the water out leaving me with both hands free to manage the boat. (Just make sure it seals properly when it is up so that you do not leak when at anchor.) It would have been better if I had fitted two venturi, one on each side against the side tanks. This would allow me to keep the boat dryer when heeled on either tack.
Capsize boarding/righting lines. These are 12mm ropes that run just under the gunwale from the stern to around the main bulkhead. Pulling at the centre of the ropes they stretch out to about 700mm away from the gunwale. I replaced the rope cores with shock cord so that they are held up against the underside of the gunwales when not in use. The remaining rope sheath is strong enough for what is needed. The lines are very handy.
- I can use the righting line as a step for my feet when climbing back in after a capsize, or a swim.
- They give me something to hang onto when I am in the water beside the boat.
- Should I capsize and the centre board falls back in the case then hopefully I can pull on the upper righting line to bring the boat back up.

| 
|
Lifeline. I mostly sail singlehanded and consider the lifeline to be my most important piece of safety equipment. If I become separated from my boat when offshore all of my other safety gear is for naught, I would expect to die. Even a capsized boat can drift much faster than you can swim when you are wearing your sailing gear.
I have written a comprehensive article covering my current thoughts on dinghy cruising safety